日本仕様の入力を細かくケアするJavaScriptライブラリ「InputManJS(インプットマンJS)」は、ReactやAngular、Vue.jsといったフロントエンドフレームワークだけでなく、「Next.js」や「Nuxt.js」といったレンダリングフレームワークでも、CSR(クライアントサイドレンダリング)に限り利用が可能です。
今回はReactベースのレンダリングフレームワーク「Next.js」を使ってアプリケーションを構築し、そのUIにInputManJSを利用する方法についてご紹介します。
Next.jsの詳細は以下の記事もご参考ください。
目次
準備
Node.jsとnpm
はじめに開発環境を整備します。Next.jsを使った開発には次の2つが必要です。
| 名称 | 概要 |
|---|---|
| Node.js | JavaScript実行環境 |
| npm | npmから様々なモジュールを取得するためのパッケージ管理ツール |
Node.jsのインストーラーは公式サイトから取得可能です。またnpmは、Node.jsのインストールによって利用できるようになります。Node.jsのインストール後にターミナルウィンドウを開き、以下のコマンドを実行してみましょう。
npm -vバージョン番号(“9.8.1”といった番号)が確認できれば、セットアップは成功です。
Next.jsでアプリケーションの作成
Next.jsのアプリケーションのプロジェクトを作成するにはコマンドラインツールの「Create Next App」を使います。
プロジェクトの作成
最初に行うのはプロジェクトの作成です。ターミナルウィンドウで任意のフォルダに移動の上、以下のコマンドを実行します。なお、コマンドの後ろにある「inputmanjs-nextjs-app」はプロジェクト名ですので、状況に応じてお好きな名前を設定してください。また「–use-npm」オプションを設定し、明示的にnpmをパッケージ管理に使用するようにします。
※ 本記事の手順ではNext.js 13.5.4を使用しています。
npx create-next-app@latest inputmanjs-nextjs-app --use-npm上記のコマンド実行後、いくつかの項目でYesかNoを選ぶ必要がありますが、全てEnterキーを押してデフォルトの設定で進めます。プロジェクト名のついたフォルダ「inputmanjs-nextjs-app」が作成されれば、このステップは完了です。
アプリケーションの実行
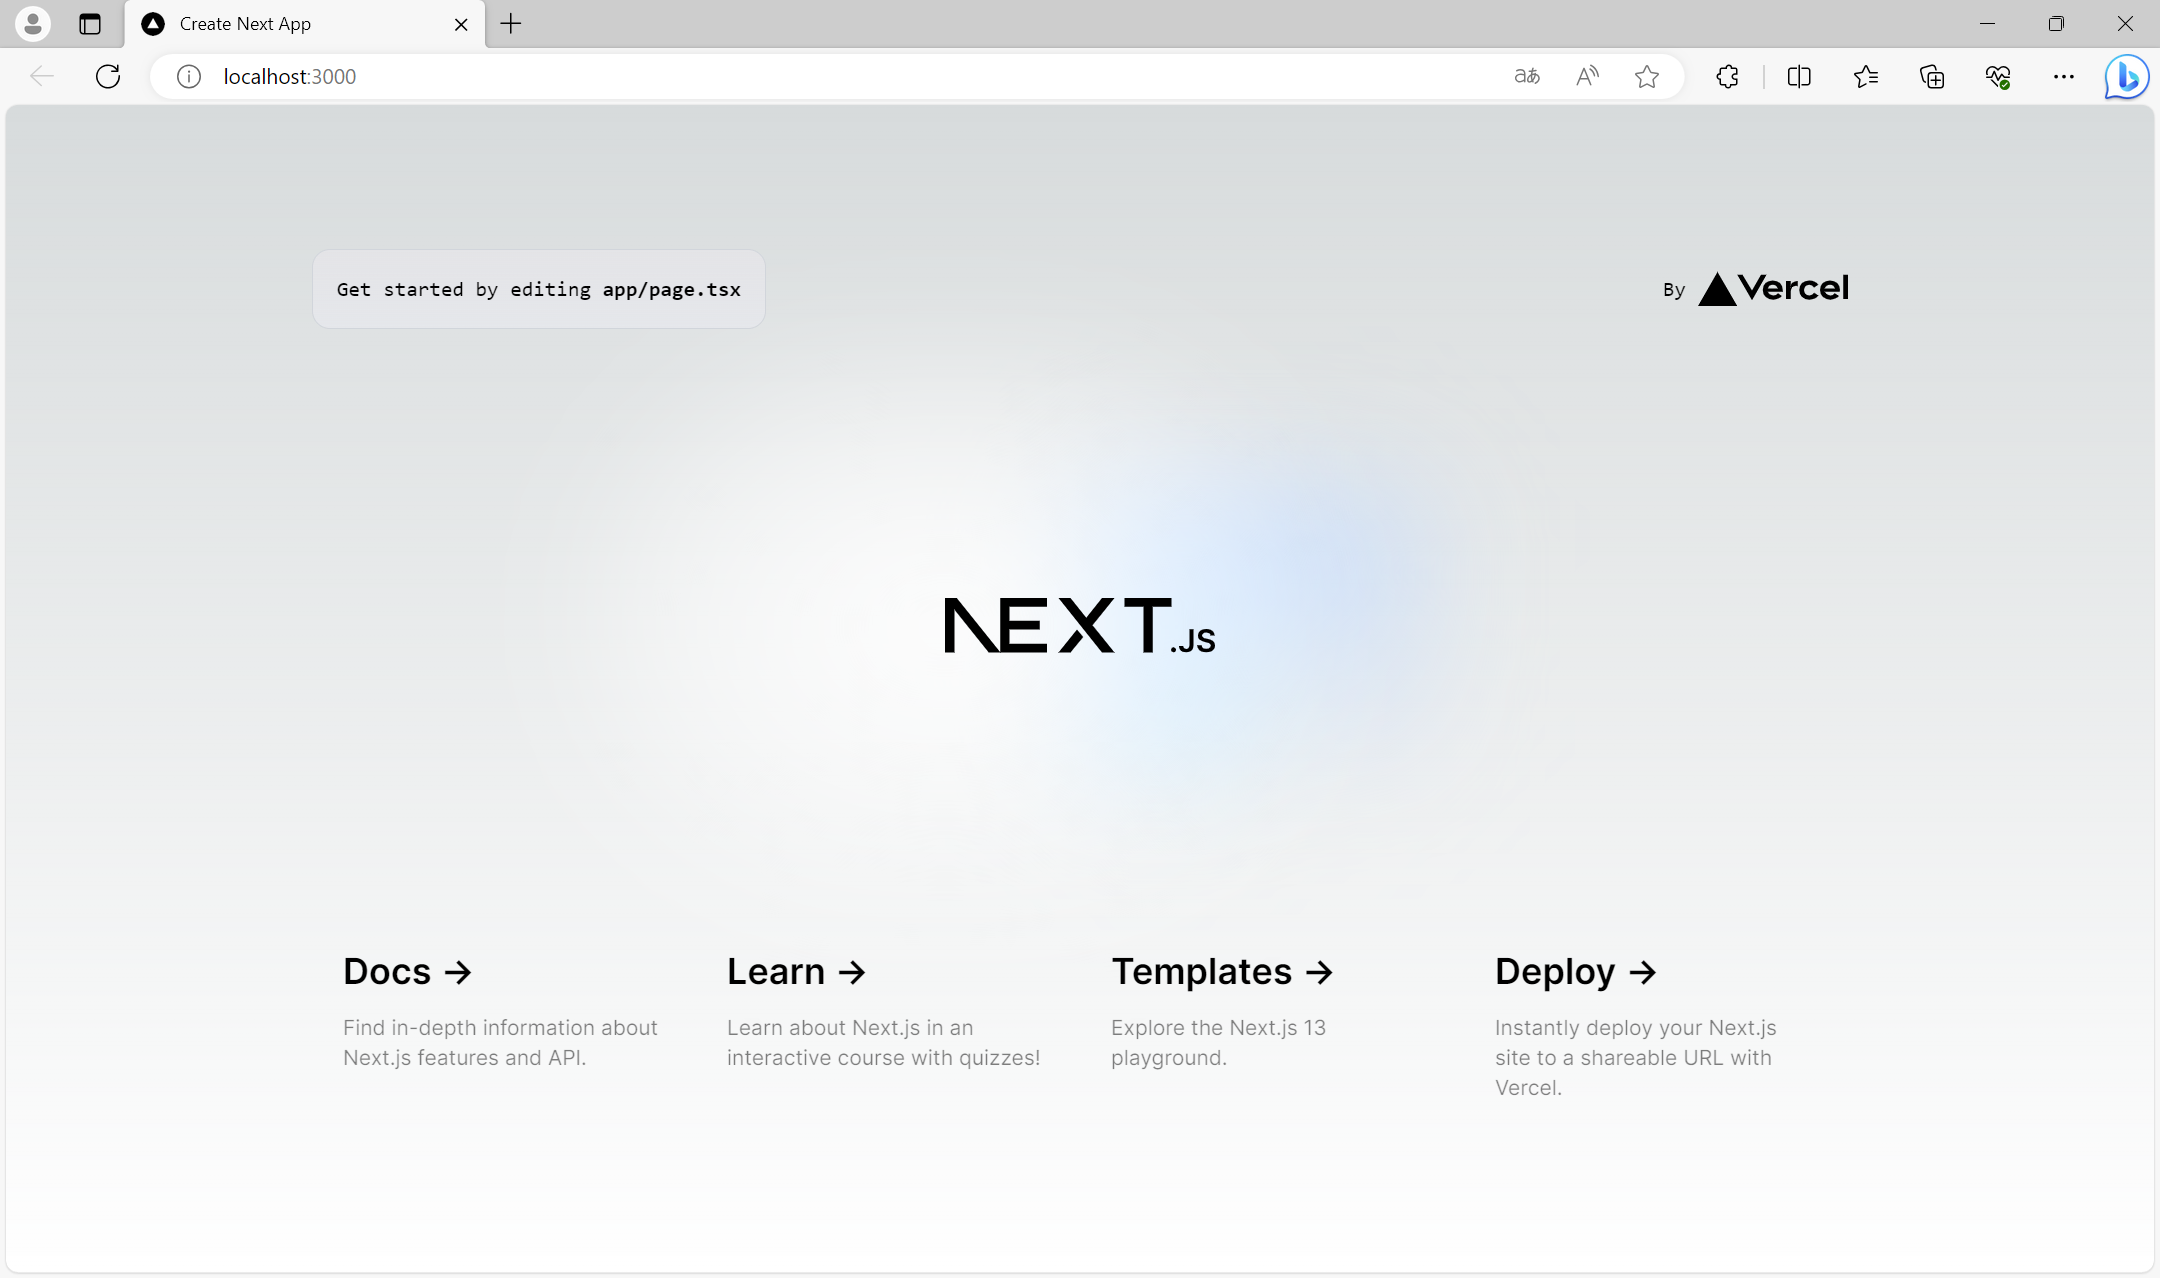
プロジェクトを作成したら、動作確認のために実行してみましょう。プロジェクトフォルダ「inputmanjs-nextjs-app」に移動し、以下のコマンドを実行します。
npm run dev実行後、ターミナルに表示されている「http://localhost:3000」にブラウザからアクセスすると以下のようにNext.jsのアプリケーションが表示されます。
Next.jsのアプリケーションでInputManJSを使う
先ほど作成したNext.jsのアプリケーションにInputManJSを組み込んでいきます。最初に行うのはInputManJS関連モジュールのインストールです。
npmパッケージのインストール
Next.jsでInputManJSを使用する場合、React用のInputManJSコンポーネントを使用します。
React用のInputManJSコンポーネントはnpmパッケージ「@grapecity/inputman.react」、及び「@grapecity/inputman.richtexteditor.react」で配布されています。
| パッケージ名 | 概要 |
|---|---|
| @grapecity/inputman.react | InputManJSをReactで使用するための間接モジュール |
| @grapecity/inputman.richtexteditor.react | InputManJSのリッチテキストエディタをReactで使用するための間接モジュール |
ターミナルウィンドウを使い、先ほど作成したプロジェクトのルートフォルダで次のコマンドを実行します。
npm install @grapecity/inputman.react
npm install @grapecity/inputman.richtexteditor.react
なお通常、npm installコマンドは指定したパッケージの最新版をインストールします。インストールするパッケージのバージョンを指定したい場合は、パッケージ名のあとに“@”とバージョン番号をつけてコマンドを実行します。
以下に示すのはInputManJSのパッケージインストールにあたり、そのバージョンを4.0.0に指定する例です。
npm install @grapecity/inputman.react@4.0.0
npm install @grapecity/inputman.richtexteditor.react@4.0.0
実装
npmパッケージをインストールしたら、アプリケーションのプロジェクトフォルダにあるファイルを編集してInputManJSの実装を行なっていきます。
まずはプロジェクトのルートフォルダに「components」フォルダを作成します。
※ 「components」フォルダがすでに存在する場合はこの手順は不要です。
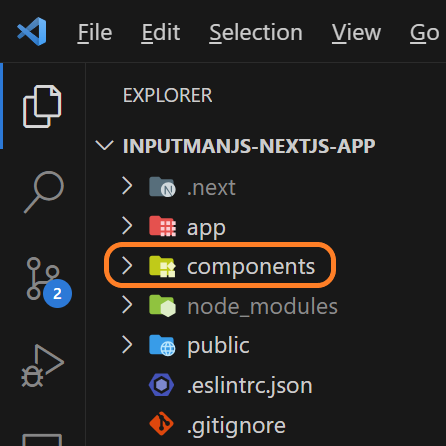
今回は「マスクコントロール」と「リッチテキストエディタコントロール」のコンポーネントを作成していきます。「components」フォルダに「PostalBox.tsx」と「RichTextEditor.tsx」を追加し、それぞれ以下のように記述します。
※ ライセンスキーを設定しない場合トライアル版を示すメッセージが表示されます。ライセンスキーの入手や設定方法についてはこちらをご覧ください。
'use client';

import { useState } from "react";
import '@grapecity/inputman/CSS/gc.inputman-js.css';
import * as GC from "@grapecity/inputman";
import { GcMask } from "@grapecity/inputman.react";

// InputManJSのライセンスキーを設定します
GC.InputMan.LicenseKey = '(ここにInputManJSのライセンスキーを設定します)';

const PostalBox = () => {
    const [maskValue, setValue] = useState('1234567');
    return (
        <>
            <GcMask value={maskValue} formatPattern={'〒 \\D{3}-\\D{4}'}></GcMask>
        </>
    )
}
export default PostalBox;
'use client';
import { useState } from "react";
import '@grapecity/inputman.richtexteditor/CSS/gc.inputman.richtexteditor.css';
import * as GC from "@grapecity/inputman.richtexteditor";
import { GcRichTextEditor} from '@grapecity/inputman.richtexteditor.react';
// InputManJSのライセンスキーを設定します
GC.InputMan.LicenseKey = '(ここにInputManJSのライセンスキーを設定します)';
const RichTextEditor = () => {
var baseUrl = "../../lib/purejs/node_modules/@grapecity/inputman.richtexteditor/JS";
var plugins = [GC.InputMan.GcRichTextEditorPluginItem.All];
var toolbar = [
GC.InputMan.GcRichTextEditorToolbarItem.NewDocument,
GC.InputMan.GcRichTextEditorToolbarItem.RestoreDraft,
GC.InputMan.GcRichTextEditorToolbarItem.Preview,
GC.InputMan.GcRichTextEditorToolbarItem.Print,
GC.InputMan.GcRichTextEditorToolbarItem.Undo,
GC.InputMan.GcRichTextEditorToolbarItem.Redo,
GC.InputMan.GcRichTextEditorToolbarItem.Cut,
GC.InputMan.GcRichTextEditorToolbarItem.Copy,
GC.InputMan.GcRichTextEditorToolbarItem.Paste,
GC.InputMan.GcRichTextEditorToolbarItem.PasteText,
GC.InputMan.GcRichTextEditorToolbarItem.SelectAll,
GC.InputMan.GcRichTextEditorToolbarItem.SearchReplace,
GC.InputMan.GcRichTextEditorToolbarItem.HTMLCode,
GC.InputMan.GcRichTextEditorToolbarItem.FullScreen,
GC.InputMan.GcRichTextEditorToolbarItem.Image,
GC.InputMan.GcRichTextEditorToolbarItem.Link,
GC.InputMan.GcRichTextEditorToolbarItem.Media,
GC.InputMan.GcRichTextEditorToolbarItem.Template,
GC.InputMan.GcRichTextEditorToolbarItem.CharMap,
GC.InputMan.GcRichTextEditorToolbarItem.Emoticons,
GC.InputMan.GcRichTextEditorToolbarItem.HorizontalRule,
GC.InputMan.GcRichTextEditorToolbarItem.PageBreak,
GC.InputMan.GcRichTextEditorToolbarItem.BlockQuote,
GC.InputMan.GcRichTextEditorToolbarItem.Bold,
GC.InputMan.GcRichTextEditorToolbarItem.Italic,
GC.InputMan.GcRichTextEditorToolbarItem.Underline,
GC.InputMan.GcRichTextEditorToolbarItem.Strikethrough,
GC.InputMan.GcRichTextEditorToolbarItem.Superscript,
GC.InputMan.GcRichTextEditorToolbarItem.Subscript,
GC.InputMan.GcRichTextEditorToolbarItem.Styles,
GC.InputMan.GcRichTextEditorToolbarItem.FontFamily,
GC.InputMan.GcRichTextEditorToolbarItem.FontSize,
GC.InputMan.GcRichTextEditorToolbarItem.Align,
GC.InputMan.GcRichTextEditorToolbarItem.LineHeight,
GC.InputMan.GcRichTextEditorToolbarItem.ForeColor,
GC.InputMan.GcRichTextEditorToolbarItem.BackColor,
GC.InputMan.GcRichTextEditorToolbarItem.RemoveFormat,
GC.InputMan.GcRichTextEditorToolbarItem.WordCount,
GC.InputMan.GcRichTextEditorToolbarItem.Table,
GC.InputMan.GcRichTextEditorToolbarItem.LeftToRight,
GC.InputMan.GcRichTextEditorToolbarItem.RightToLeft,
GC.InputMan.GcRichTextEditorToolbarItem.Outdent,
GC.InputMan.GcRichTextEditorToolbarItem.Indent,
GC.InputMan.GcRichTextEditorToolbarItem.BulList,
GC.InputMan.GcRichTextEditorToolbarItem.NumList,
];
const [rtText, setValue] = useState('<h1>InputManJS×Next.jsサンプル</h1>');
return (
<>
<GcRichTextEditor
baseUrl={baseUrl}
plugins={plugins}
toolbar={toolbar}
height="500"
text={rtText}
>
</GcRichTextEditor>
</>
)
}
export default RichTextEditor;次に「app/page.tsx」ファイルの内容を以下のように書き換えます。「components/PostalBox.tsx」と「components/RichTextEditor.tsx」ファイルを動的インポートし、その際{ ssr: false }オプションを指定することで対象ファイルをSSR(サーバーサイドレンダリング)しないように設定します。
import dynamic from 'next/dynamic'

const PostalBox = dynamic(
    () => {
        return import("../components/PostalBox");
    },
    { ssr: false }
);

const RichTextEditor = dynamic(
  () => {
      return import("../components/RichTextEditor");
  },
  { ssr: false }
);

export default function Home() {
    return (
        <>
            <h1>
            マスクコントロール
            </h1>
            <PostalBox></PostalBox>
            <h1>
            リッチテキストエディタコントロール
            </h1>
            <RichTextEditor></RichTextEditor>
        </>
    )
}加えて「app/globals.css」を以下のように書き換え各コントロールのスタイルを設定します。リッチテキストエディタ以外のInputManJSのコントロールのスタイルは「.gcim」クラスを、リッチテキストエディタのスタイルの調整には「.gcim__richtexteditor」クラスを使用します。詳しくは製品ヘルプをご覧ください。
@tailwind base;
@tailwind components;
@tailwind utilities;

body {
  margin: 10px;
}

.gcim{
  margin: 10px;
}

.gcim__richtexteditor{
  margin: 10px;
}
実行
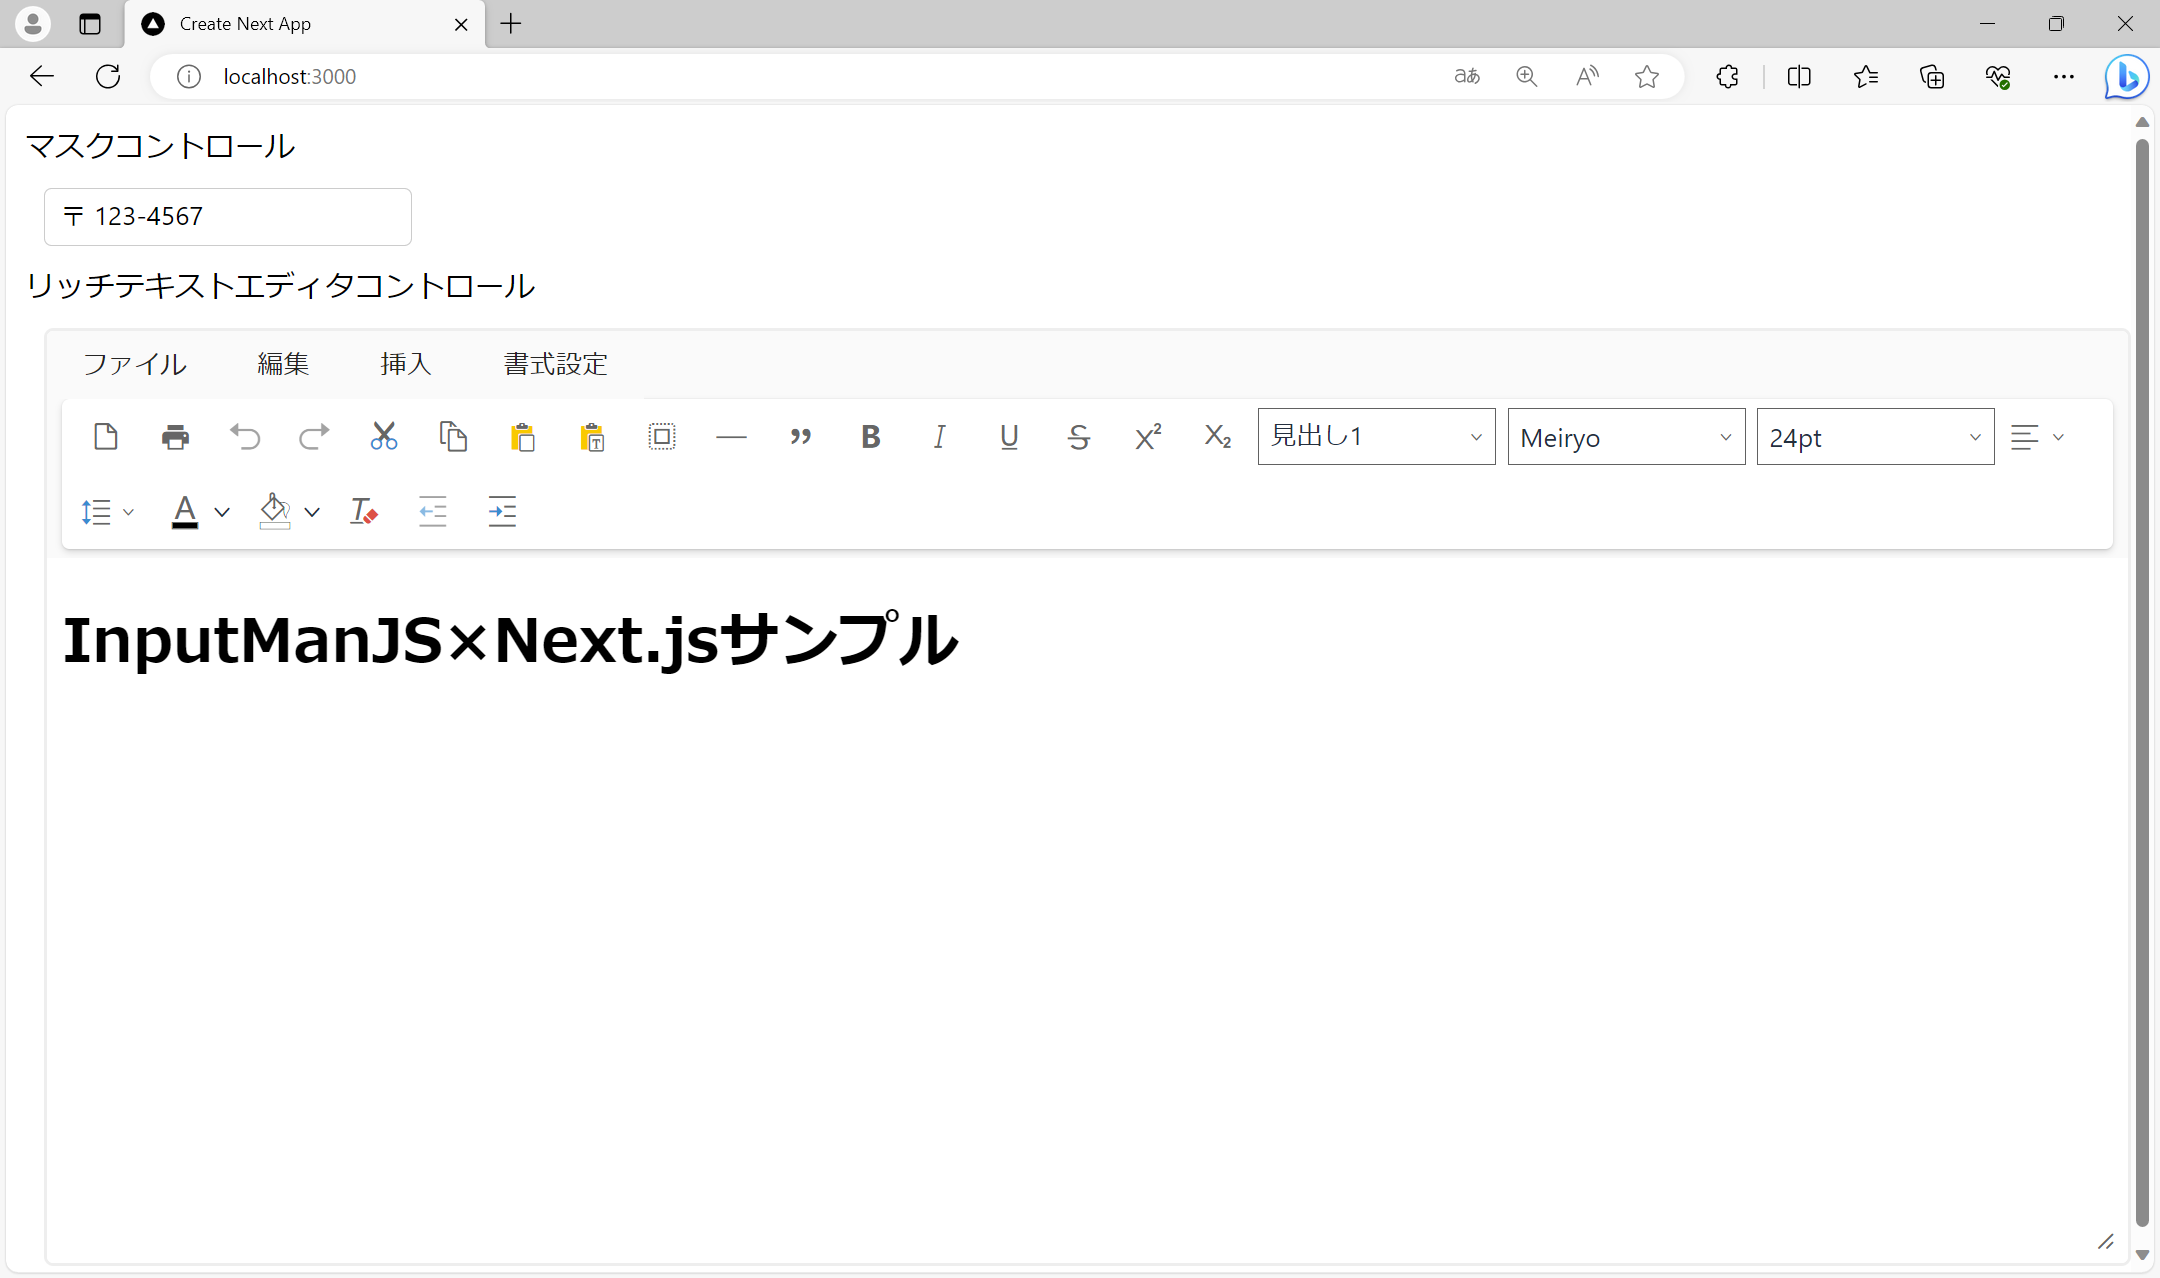
以上で実装は完了です。再びターミナルウィンドウで以下のコマンドを実行し、動作を確認してみましょう。
npm run devコマンド実行により起動したWebブラウザ上で以下のように郵便番号の入力用のマスクコントロールと、リッチテキストエディタが表示されていれば実装は成功です。
さいごに
以上でアプリケーションの作成は完了です。InputManJSにはこの他にも便利な機能が多数搭載されていますので、気になった方はデモアプリケーションやトライアル版を是非お試しください。
また、ご導入前の製品に関するご相談、ご導入後の各種サービスに関するご質問など、お気軽にお問合せください。