JavaScript帳票ライブラリ「ActiveReportsJS(アクティブレポートJS)」の最新バージョンV4Jでは新たに、Next.js、Nuxt.js、Svelteの3つのJavaScriptフレームワークをサポートに追加しました。今回はその中からVue.jsベースのレンダリングフレームワークであるNuxt.jsと、ActiveReportsJSで帳票アプリケーションを作成する方法をご紹介いたします。
※ ActiveReportsJSでは「Next.js」や「Nuxt.js」といったレンダリングフレームワークのサポートはCSR(Client Side Rendering)のみとなります。
目次
※ 以下、Node.jsが環境にインストールされていることが前提となります。インストールしていない場合は、あらかじめこちらより推奨版をインストールしてください。また、エディタとしてVisual Studio Codeを使用します。
Nuxt.jsアプリの作成
Nuxt.jsアプリの作成には、CLIツール「nuxi」を使用します。
以下のコマンドを実行し、「nuxtjs-reporting-app」という名前のプロジェクトを作成します。
npx nuxi@latest init nuxtjs-reporting-appプロジェクトが作成されたら、以下のコマンドを実行し、プロジェクトのフォルダ配下に移動します。
cd nuxtjs-reporting-app続いて以下のコマンドを実行し、必要なパッケージのインストールを行います。
npm installここまでの手順でテンプレートプロジェクトの作成が完了しましたので、次のコマンドを実行し動作確認を行います。
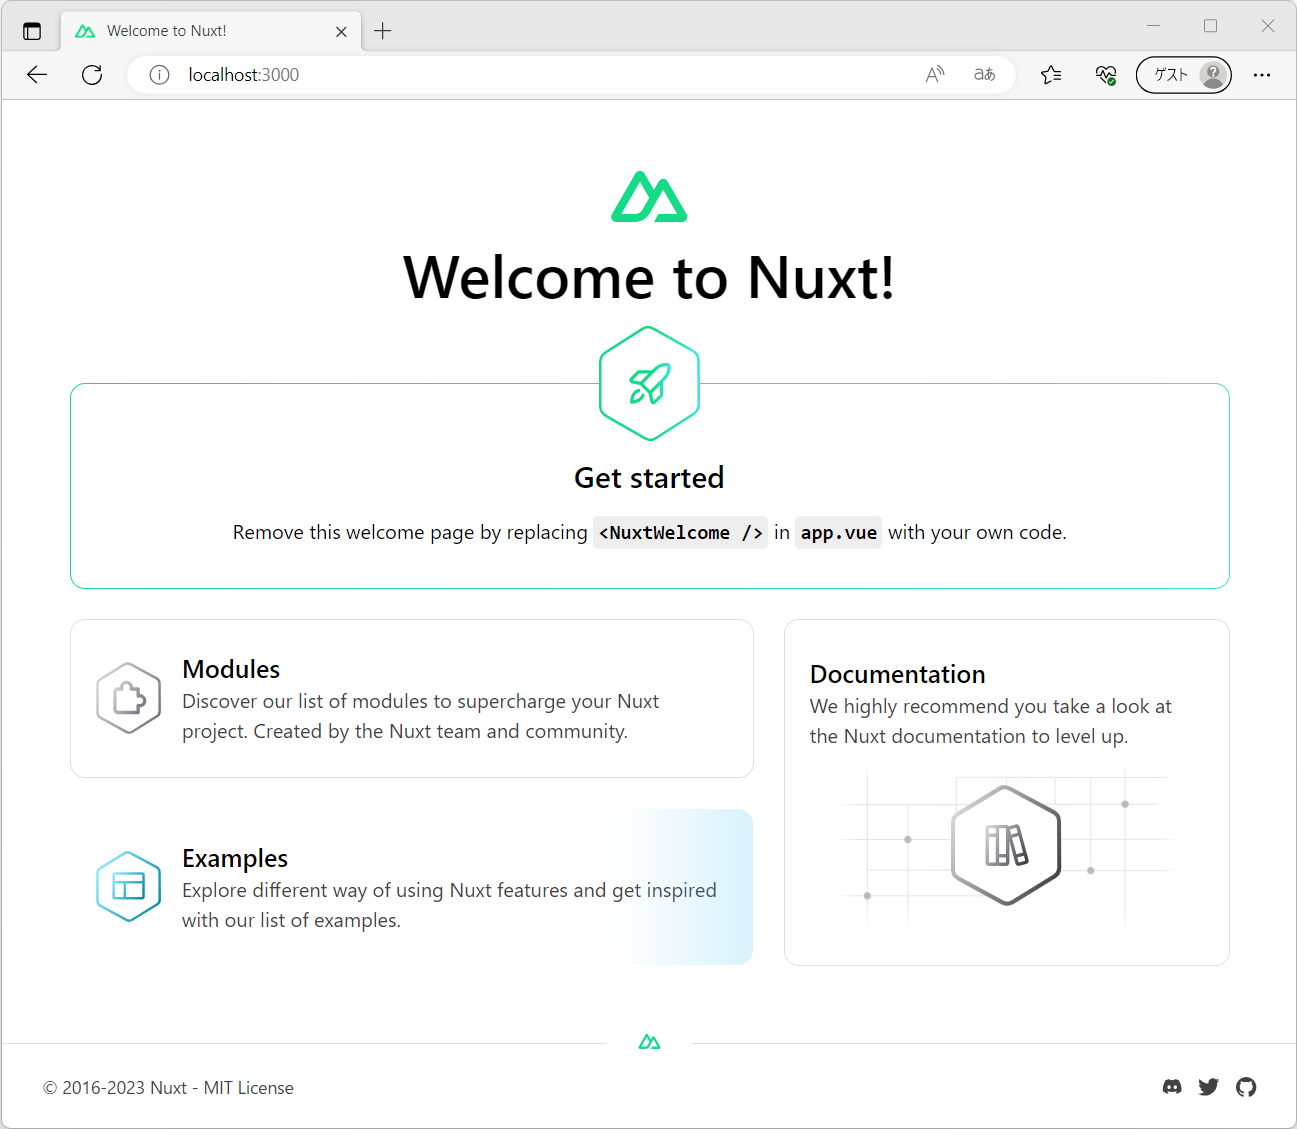
npm run devブラウザで「http://localhost:3000/」を参照すると以下のような画面が表示されます。また、ソースファイルを変更すると自動的に変更が反映されます。
ActiveReportsJSのインストール
次に以下のコマンドを実行し、ActiveReportsJSのVue用のパッケージおよびビューワを日本語化するためのローカライズパッケージをインストールします。
※ 2023年7月時点の最新の日本語版「V4J」をインストールします。
npm install @grapecity/activereports-vue@4.0.0 @grapecity/activereports-localization@4.0.0バージョンを指定せずに最新版をインストールする場合は以下のようにコマンドを実行します。
npm install @grapecity/activereports-vue @grapecity/activereports-localizationソースコードの修正
次に、ActiveReportsJSのビューワーを組み込むため、「app.vue」を次のように書き換えます。
<template>
  <div id="viewer-host" >
    <Viewer v-bind:report="{ Uri: 'reports/quick-start-sample.rdlx-json' }" language="ja" />
  </div>
</template>

<script setup>
import {Viewer} from '@grapecity/activereports-vue';
import "@grapecity/activereports-localization";
import {PdfExport} from '@grapecity/activereports';
</script>

<style
  src="node_modules/@grapecity/activereports/styles/ar-js-ui.css"
></style>
<style
  src="node_modules/@grapecity/activereports/styles/ar-js-viewer.css"
></style>

<style scoped>
#viewer-host {
  height: 100vh;
  width: 100%;
}
</style>
alias.jsの作成
ActiveReportsJSの内部で使用しているパッケージ「moment.js」を、プロジェクト内で参照する為にプロジェクトのルートディレクトリに「alias.js」の作成を行います。
import moment from "./node_modules/moment";

export const { fn, min, max, now, utc, unix, months,
  isDate, locale, invalid, duration, isMoment, weekdays,
  parseZone, localeData, isDuration, monthsShort, weekdaysMin,
  defineLocale, updateLocale, locales, weekdaysShort, normalizeUnits,
  relativeTimeRounding, relativeTimeThreshold, calendarFormat, ISO_8601
} = moment;

export default moment;
nuxt.config.tsを修正
続いて、SSR(サーバーサイドレンダリング)を行わない為の設定(強調部分)と、パッケージの参照設定を行う為に「nuxt.config.ts」を以下のように書き換えます。
// https://nuxt.com/docs/api/configuration/nuxt-config
import path from "path";

export default defineNuxtConfig({
  ssr: false, //SSRを行わないようにする為、falseに設定
  vite: {
    resolve:{
      alias: [
        {
          find: /^moment$/,
          replacement: path.resolve(__dirname, "./alias.js"),
        },
        {
          find: /^gc-dv$/,
          replacement: path.resolve(
            __dirname,
            "./node_modules/@grapecity/activereports/lib/node_modules/gc-dv.js"
          ),
        },
        {
          find: /^\@grapecity\/ar-js-pagereport$/,
          replacement: path.resolve(
            __dirname,
            "./node_modules/@grapecity/activereports/lib/node_modules/@grapecity/ar-js-pagereport.js"
          ),
        },
        {
          find: /^barcodejs$/,
          replacement: path.resolve(
            __dirname,
            "./node_modules/@grapecity/activereports/lib/node_modules/barcodejs.js"
          ),
        },
      ],
    }
  }
})
レポートファイルとフォントファイルの配置
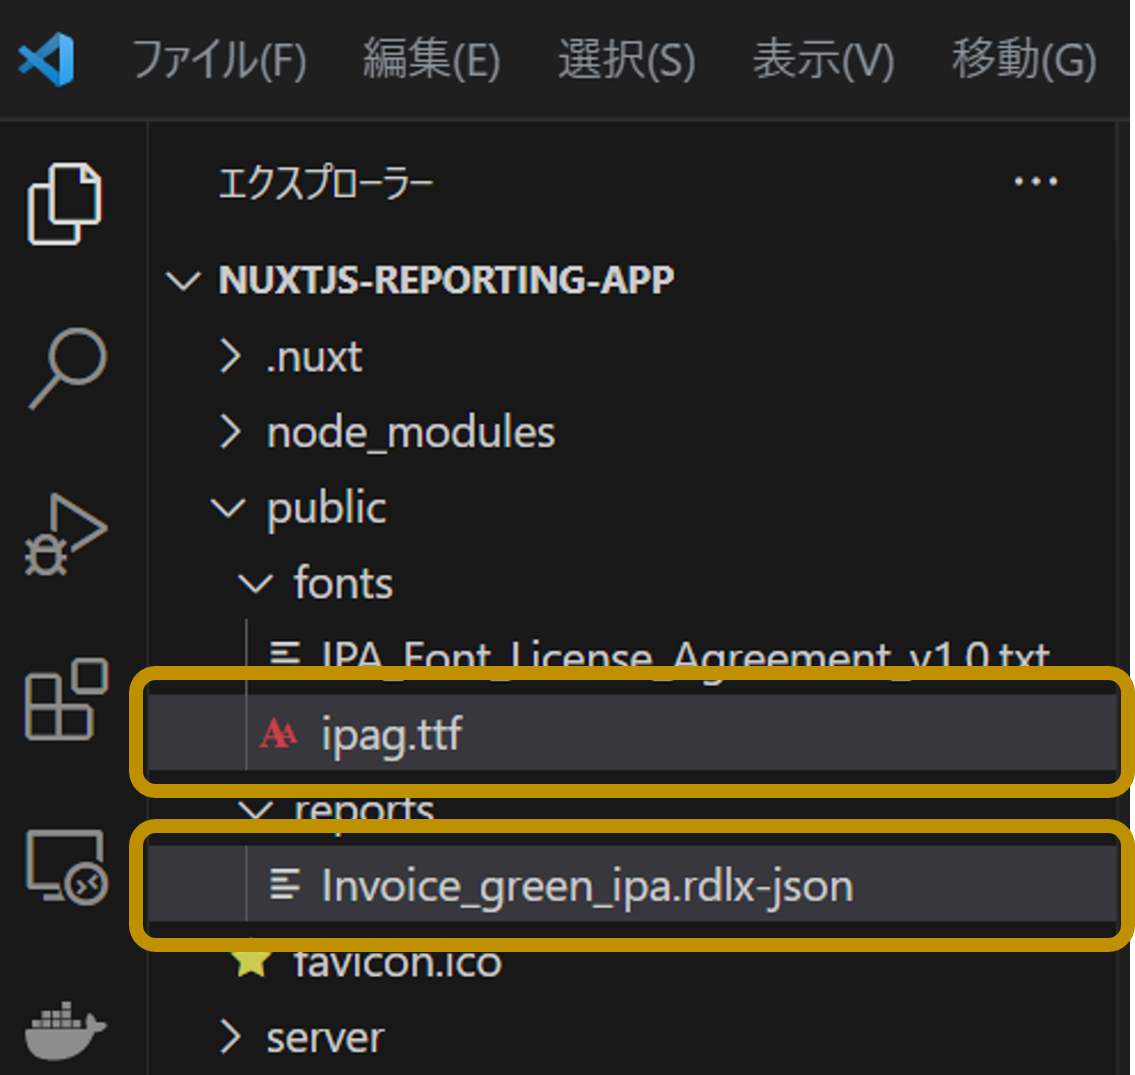
表示するレポートファイルは「public」フォルダ配下に配置します。また、PDFエクスポートを行う場合はフォントファイルも同フォルダ配下に配置します。
以下のGitHubで公開しているサンプルレポート(Invoice_green_ipa.rdlx-json)を「public/reports」フォルダに、フォントファイル(ipag.ttf)を「public/fonts」フォルダにそれぞれコピーして下さい。
配置したフォントファイルを読み込ませる為、「app.vue」へ次のコード(強調部分)を追加します。
<template>
  <div id="viewer-host" >
    <Viewer v-bind:report="{ Uri: 'reports/Invoice_green_ipa.rdlx-json' }" language="ja" />
  </div>
</template>

<script setup>
import {Viewer} from '@grapecity/activereports-vue';
import "@grapecity/activereports-localization";
import {PdfExport} from '@grapecity/activereports';
import {Core} from '@grapecity/activereports';

onMounted(() => {
  Core.FontStore.registerFonts({
    name: 'IPAゴシック',
    source: 'fonts/ipag.ttf'
  });
});
</script>

<style
  src="node_modules/@grapecity/activereports/styles/ar-js-ui.css"
></style>
<style
  src="node_modules/@grapecity/activereports/styles/ar-js-viewer.css"
></style>

<style scoped>
#viewer-host {
  height: 100vh;
  width: 100%;
}
</style>
アプリケーションの実行
以上でアプリケーションの作成は完了です。以下のコマンドを実行して、開発サーバー上でアプリケーションを起動します。
npm run devブラウザで「http://localhost:3000/」を参照すると、ActiveReportsJSの帳票ビューワが表示され、作成した帳票の閲覧や、PDFなど各種形式への保存が実行できます。
さいごに
以上がNuxt.jsでActiveReportsJSを使用して帳票を出力する方法でした。ActiveReportsJSでは今回ご紹介したNuxt.js以外にも、レンダリングフレームワークのNext.jsや、React、Vue.js、AngularといったJSフロントエンドフレームワークでもご利用可能です。詳しくは以下の記事もご覧ください。
また、製品Webサイトでは、無料で試せるデモアプリケーションやトライアル版も公開しています。トライアル版では今回ご紹介できなかった帳票デザイナを含めたすべての機能が使用可能なほか、手元で動かして試せるサンプルも付属していますので、気になった方は是非一度お試しいただけますと幸いです。
また、ご導入前の製品に関するご相談、ご導入後の各種サービスに関するご質問など、お気軽にお問合せください。