JavaScript帳票ライブラリ「ActiveReportsJS(アクティブレポートJS)」では、Angular、React、Vue.jsといった、主要なJavaScriptフレームワークに対応したパッケージをそれぞれ用意しています。今回はその中からAngularでActiveReportsJSを使う方法をご紹介いたします。
※ 以下、Node.jsが環境にインストールされていることが前提となります。インストールしていない場合は、あらかじめこちらより推奨版をインストールしてください。また、エディタとしてVisual Studio Codeを使用します。
目次
Angular CLIのインストール
まずはAngularアプリの作成や実行など、Angularでの開発に欠かせないコマンドラインツール「Angular CLI」をインストールします。
※ すでにインストール済みの場合、この手順は不要です。
ターミナルやコマンドプロンプトを開き、以下のコマンドを実行して、Angular CLIパッケージをグローバルにインストールします。
npm install -g @angular/cliインストールが完了したら、以下のコマンドでAngular CLIのバージョン等を確認できます。
ng --version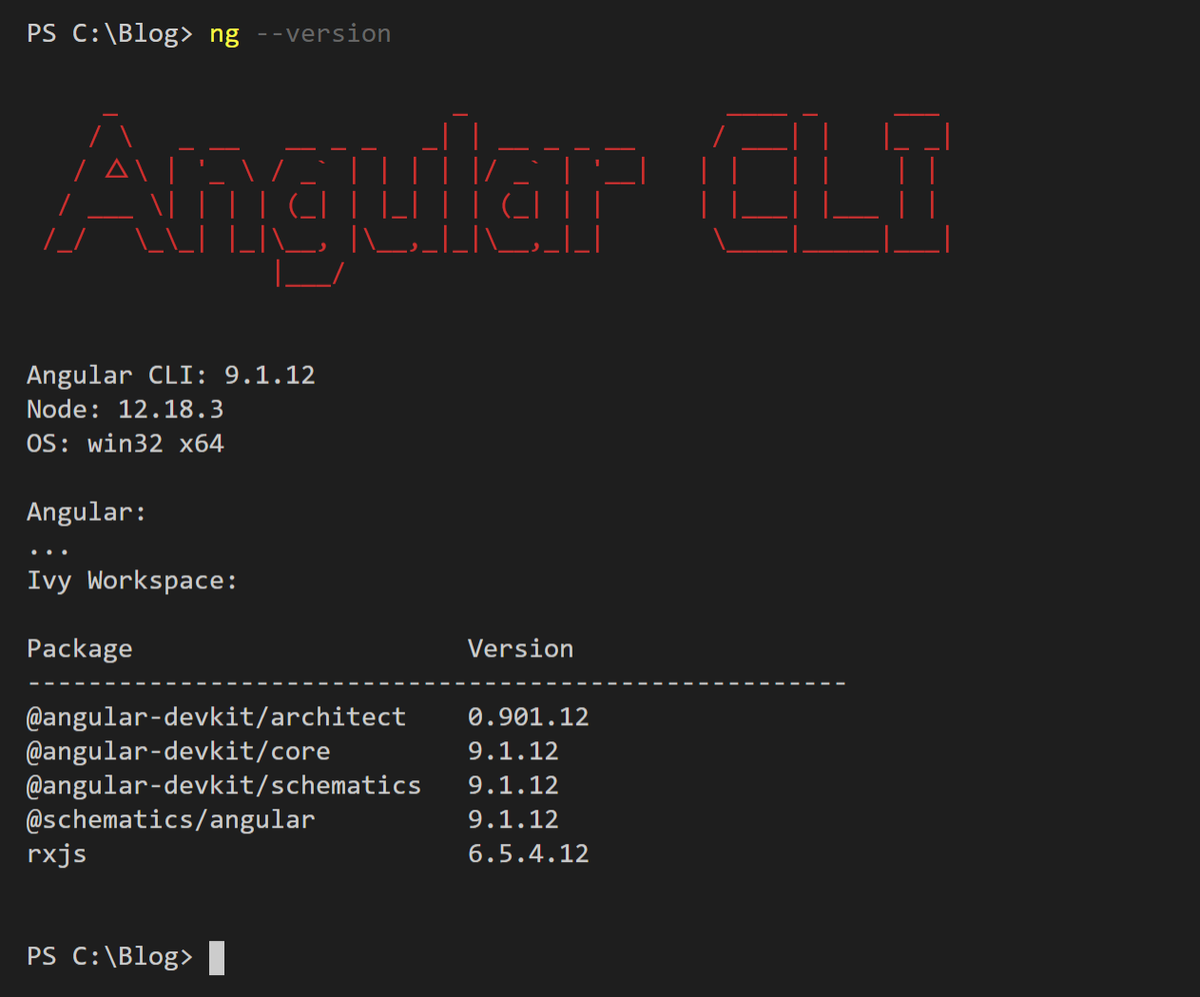
Angularアプリケーションの作成
以下のコマンドを実行して、Angularアプリケーションを作成します。アプリケーションのオプションをいくつか質問されますが、全てEnterキーを押して既定値を選択します。
ng new angular-app以上でAngularアプリケーションのひな形は完成です。作成されたアプリケーションのフォルダに移動し、ng serveコマンドで実行します。
cd angular-app
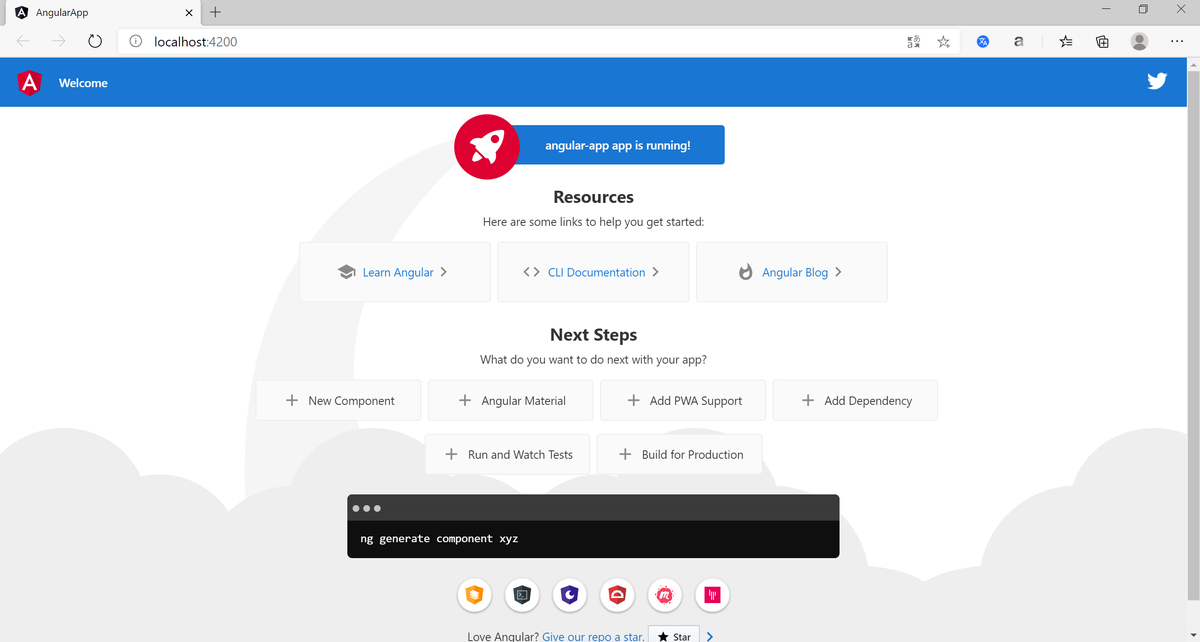
ng serve --openブラウザでhttp://localhost:4200/が自動的に開き、以下のようなページが表示されます。
ActiveReportsJSのパッケージのインストール
以下のコマンドを実行して、ActiveReportsJSのパッケージをアプリケーションにインストールします。
npm install @grapecity/activereports-angular続いて以下のコマンドを実行して、ActiveReportsJSの日本語化パッケージをアプリケーションにインストールします。
npm install @grapecity/activereports-localizationソースコードの修正
src/app/app.component.htmlファイルの中身を以下の内容に書き換えます。
<gc-activereports-viewer [height]="height" [language]="language" (documentLoaded)="onDocumentLoaded($event)" #reportviewer> </gc-activereports-viewer>src/app/app.module.tsファイルの中身を以下の内容に書き換えます。
import { BrowserModule } from '@angular/platform-browser';
import { NgModule } from '@angular/core';
import { ActiveReportsModule } from '@grapecity/activereports-angular';
import '@grapecity/activereports-localization';
import { AppComponent } from './app.component';
@NgModule({
  declarations: [AppComponent],
  imports: [BrowserModule, ActiveReportsModule],
  providers: [],
  bootstrap: [AppComponent],
})
export class AppModule {}src/app/app.component.tsファイルの中身を以下の内容に書き換えます。
import { Component, ViewChild, AfterViewInit } from '@angular/core';
import {
  ViewerComponent,
  HtmlExportService,
  PdfExportService,
  XlsxExportService,
  AR_EXPORTS,
} from '@grapecity/activereports-angular';
@Component({
  selector: 'app-root',
  templateUrl: './app.component.html',
  styleUrls: ['./app.component.css'],
  providers: [
    { provide: AR_EXPORTS, useClass: PdfExportService, multi: true },
    { provide: AR_EXPORTS, useClass: HtmlExportService, multi: true },
    { provide: AR_EXPORTS, useClass: XlsxExportService, multi: true },
  ],
})
export class AppComponent implements AfterViewInit {
  @ViewChild(ViewerComponent, { static: false }) reportViewer: ViewerComponent = new ViewerComponent;
  title = 'ActiveReports Angular App';
  height = '100vh';
  language = 'ja';
  onDocumentLoaded = function (a: any) {
    console.log('document loaded', a);
  };
  ngAfterViewInit() {
    this.reportViewer.init.subscribe(() => {
      this.reportViewer
        .registerFont({ name: 'IPAゴシック', source: 'assets/ipag.ttf' })
        .then(() =>
          this.reportViewer.open('assets/Invoice_green_ipa.rdlx-json')
        );
    });
  }
}
src/styles.cssファイルに以下の内容を追加します。
@import '@grapecity/activereports/styles/ar-js-viewer.css';
@import '@grapecity/activereports/styles/ar-js-ui.css';
レポートファイルとフォントファイルの配置
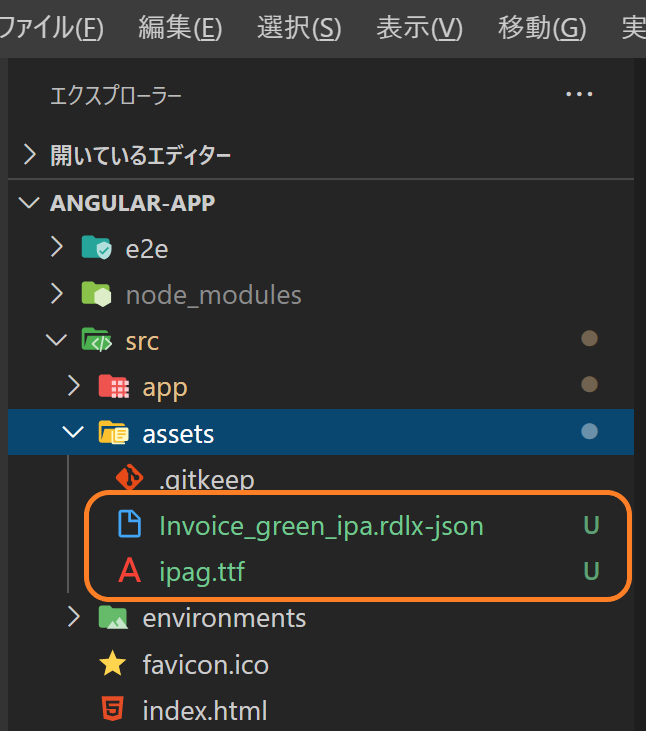
表示するレポートファイルはsrc/assetsフォルダ配下に配置します。また、PDFエクスポートを行う場合はフォントファイルも同フォルダに配置します。
以下のGitHubで公開しているサンプルレポート(Invoice_green_ipa.rdlx-json)と、フォントファイル(ipag.ttf)をダウンロードして、src/assetsフォルダ配下にコピーして下さい。
アプリケーションの実行
以上でアプリケーションの作成は完了です。以下のコマンドを実行して、ローカル環境でアプリケーションを実行します。
ng serve --openブラウザでhttp://localhost:4200/が自動的に開き、以下のようにレポートが表示されます。
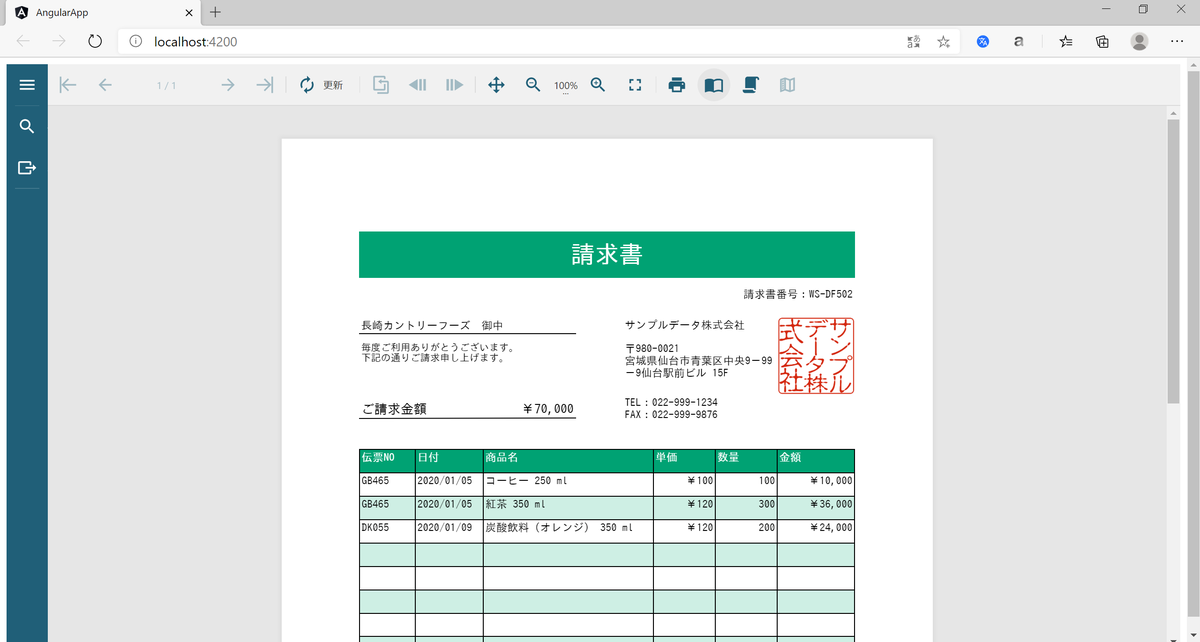
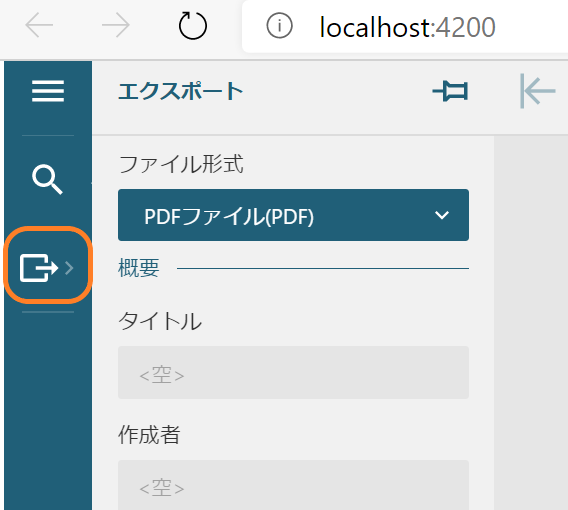
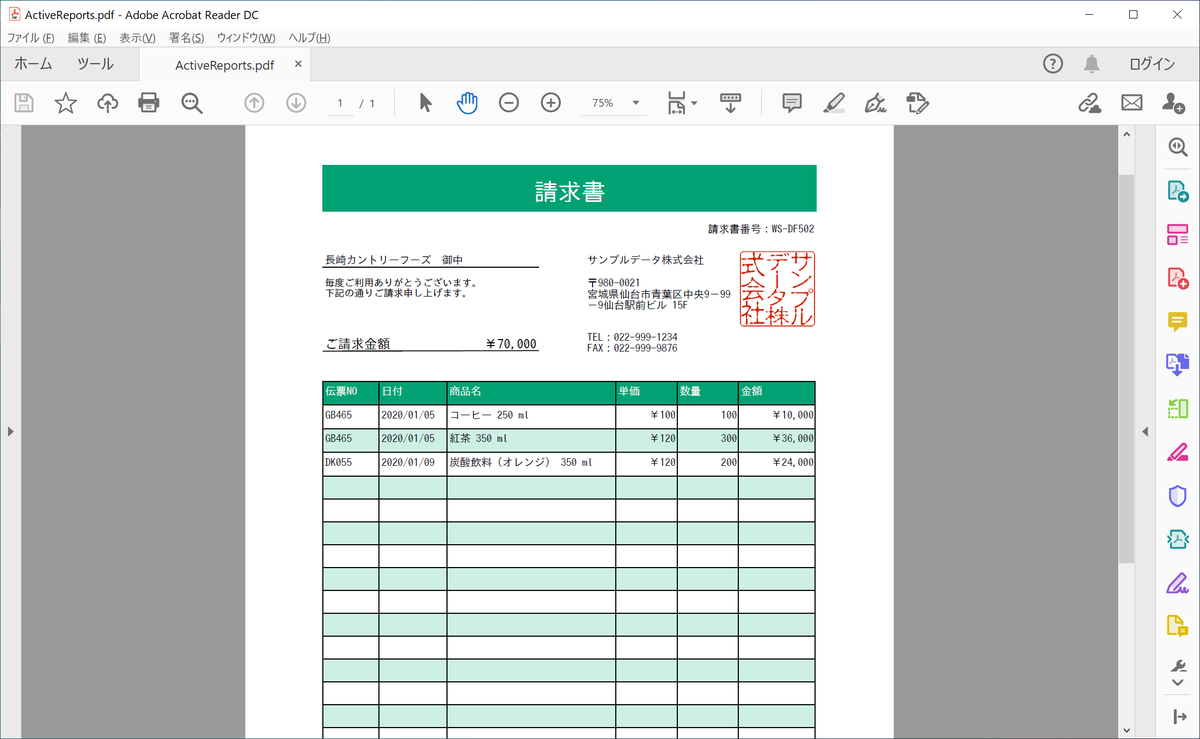
サイドバーからPDFなど各種形式へのエクスポートも実行可能です。
さいごに
Webサイトでは製品の機能を手軽に体験できるデモアプリケーションやトライアル版も公開しておりますので、こちらもご確認ください。
また、ご導入前の製品に関するご相談、ご導入後の各種サービスに関するご質問など、お気軽にお問合せください。
